This is not a great photo, but it is a fair one that I literally snapped because of Siera's reaction to the baby stroller I was pushing when the grand kids were visiting.
Getting a mule to 'pose' with their ears up and pointed is not an easy task when you are actually trying to do a portrait.
So I thought I'd occupy myself while the rain came down outside and try a different technique. I thought I'd mix the shot up with some textures and see what happened.
Most of the time I end up totally making a mess.
First off I can do this in either PSPX6 or Photoshop...a person can almost any version that uses layers including Elements.

You can 'cut out' your image with any sort of selection tool. I use Topaz ReMask because it just is so much easier for me. Quick draw the line click the red bucket and compute.

Next I grabbed a 'texture' from Jerry Jone's site called Attic Treasures at Shadow House Creations.
Notice that I haven't done anything but drop the texture on top of the poor mule. Before I get too involved I want to experiment with layer opacity and first. If it looks half way decent, I might just use it.

Well it does look nice with her colors but I'll swap layers again and try some things to get rid of the green that is hanging on her face from the original ...
and perhaps crop it also.

After a bit of playing around with the layers, I found one that seems to work well.
I get rid of the green by using a mask tool. Older Elements users can just carefully erase around the animal.
I wasn't quite satisfied with the look I was getting. True enough, it does look like a funky old framed photo that one could find in the attic.
But I wanted something more.
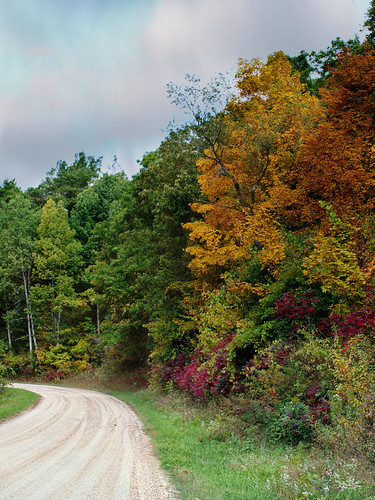
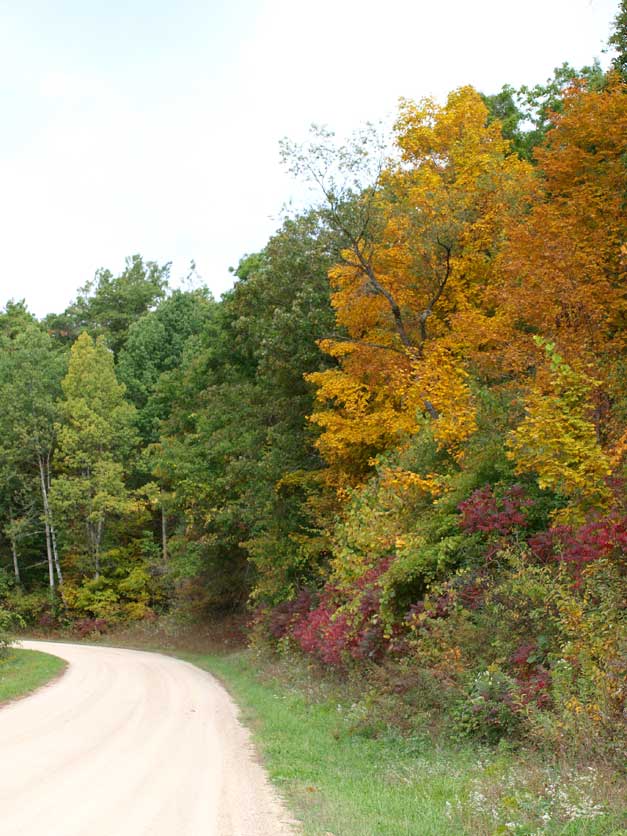
So I dug around in my files and found a fall photo which matched the colors I was using.
I dropped it into the layers and began to move it around a bit.
Notice that I have made it so you cannot see the bottom layer which is the original photo.

I decided that I like the way the trees frame the mule within the frame.
This will be where I should save the file as PSD so I can work on it later, then I crop it and flatten it.
I added a black border and my name at the bottom to finish it off.
I think it is a keeper.
It went from a so-so crappy point at the mule and snap shot to something I wouldn't mind having on my screensaver or on my calendar next year.
Color me happy.

It was worth trying out something different on a day where it is raining and I can't be out hiking or riding.
Sitting back and looking at this ... I realize that I could have moved the mule a bit to more to the right.
And since I did not save the PSD file I would have to go through these steps again.
Lesson learned! Save your work!
Here is something else I did with editing.
I used Topaz Simplify, Clean, and then overlayed the photo of a sunset on top of the 'creation'.
It was fairly well received and someone even may have called it artistic.
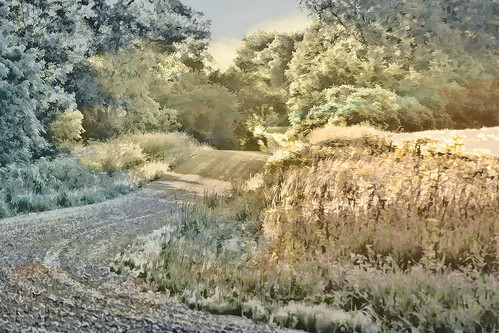
I'm not sure I'd go that far, but keeping your editing skills up to par with new things is always a good plan.