Showing posts with label horse ornaments. Show all posts

Saturday, December 12, 2020

Decorate...tions....

 So it was hard but I finally got in the mood to do some decorating.


So this is standing at my spot at our eating table looking through the house and open staircase. The two little bedrooms upstairs are now guest/storage rooms. We have a tiny bedroom downstairs now which really makes things quite nice.


I had to add my tiny bear family to the box. That box is actually an old drawer from a pedal sewing machine. After all, my bears enjoy being out and about!


And here are my stuffed toys. The large ones! The jointed horse and the red and green bear are toys I made nearly 30 years ago. The brown rabbit and yellow bear came from Farmer Danika's shop and the white bear came from a Thrift Store. That bear survived this summer's floods and deserves a spot inside! I thought they would look neat sitting on the stairs.

There is something about hand made things. I love them! Below is a carving from Far Side of Fifty! It gets a prominent position on the Christmas Chair.


One of my MIL's necklaces... it just looks right on the tree/chair.


A glass blown horse ornament. Gosh I can't even recall who gave me this. I just know it was a gift and I've managed to keep it safe for many years.


The Stag. I got this cheap ornament a few years ago. I just thought it would fit nicely with my horse ornaments. Besides, it is pretty to photograph.


Uh oh...looks like this one escaped!


Ahhhh, one of my first horse ornaments. Plastic and cheap but still very near and dear to my heart. To think it has survived so many years with me. A bit beat up but still a Carousel Horse!


I'll do some fun photos of my nesting box soon enough. More toys of course. I really love my toys. 
Um. 
Should someone my age really be saying that?

I wonder how I could fit in the dragons and dinosaurs to a Christmas theme too....


Friday, December 04, 2020

Christmas Chair???


Back this year.

The Christmas Chair.

In the photos below you see most of the living room and the back side of my husband sitting in his folding chair to watch TV.


Here is the opposite end of the huge West Wing.
The nesting boxes will be decorated too. I can't put the tree in the corner like years past. 
The 'new' concentrator can't be crowded and needs plenty of room for the heat to dissipate from its backside. I liked the old concentrator better. We had a place where it could sit out of the way and still get plenty of ventilation. 
Grrr....oh... well.


So things are still under construction, so to speak. I fiddle with everything more than once or twice. I'll probably even move little things around several more times.


The Chair/Tree combo after I just put it up....


Yes, it looks a bit lopsided and a bit off from this angle. But I look at it in a different way.

I look at it in bits and pieces of tiny things I want displayed. How do I want light to be reflected? How do I want to see individual ornaments?


On the chair is a red necklace that was worn by my MIL. It shows off one of my horse ornaments nicely.


Over the next month or so, the items on the chair will change.


Draped onto the tree are some other necklaces MIL used to wear. I don't wear that type of jewelry, but I though it was a nice way to 'have' her with us in some sort of way this year.

The nesting box looks much nicer after it has been decorated and lit up.


It too will change over the next month. 


Gnomes and toys will end up moving around the house....


Because oh...how I do love toys!


Saturday, December 03, 2016

The Christmas Chair ~ how I do it.

Here is how it all starts. In 2014 I thought I'd try something a bit different. The same old Christmas tree was boring. I wandered about the old shed looking for something when I spied this old chair.
It had been painted several times and at one point I'd even thought about fixing the crack in the seat and maybe stripping it and repainting it.

This time I looked at it differently. The layers of paint, the scrape marks, and the fact that it didn't sit quite straight made it a perfect candidate for something.
I cleaned it up and brought it in the house. And thus the Christmas chair was born.

I had/have a very tiny house. Most years I shoved my cheap little tree up against the wall and only decorated the front half of it.

Step 1. Put out the chair. Simple and easy.
Step 2. Take an old round vinyl table cloth and use it as a skirt. It also covers up the gas pipe that comes into the house to the heater.
Step 3. Make sure that Morris supervises. Oh and take time to set out the dinosaur toys. I don't know why, but I thought they should be part of it. Place the tree next to the chair.
Step 4. Add some garland to the chair and start fitting branches onto the tree. Don't cover up the chair. I make this up as I go...
Step 5. This year I used the leftover branches from the partial tree to fill in the gaps.
Step 6. Toss in some boxes. The top item is the kitchen junk drawer from the original kitchen in the house. It is sitting on a bolts box I found in the dirt in the little shed.
Step 7. Take time out for some tea and play with the dinosaurs.
Step 8. It is out of order. But you can see the old vinyl table cloth and the old white rug that I set out to be a tree 'skirt' and box border.

Next sort out the lights. Of course I didn't have the lights I wanted. So I put the red string on the tree and used a white string around the boxes.

Things looked sort of okay as I started to add ornaments and hand made toys. But the lighting wasn't right.

However the bright new light colored wood on the wall is fantastic. The small room feels so much more cheery.

A quick reminder of what this section of the old house looked like...
Yuck.

Anyway here is a view of the living room with the tree from the stairs.
Pardon the Jack Russell toys that Morris left out.

The carpeting will be removed next year and the floor will be replaced. But for this winter this is it!

Here is the tree. Yes I added some more lights to make it cheery.
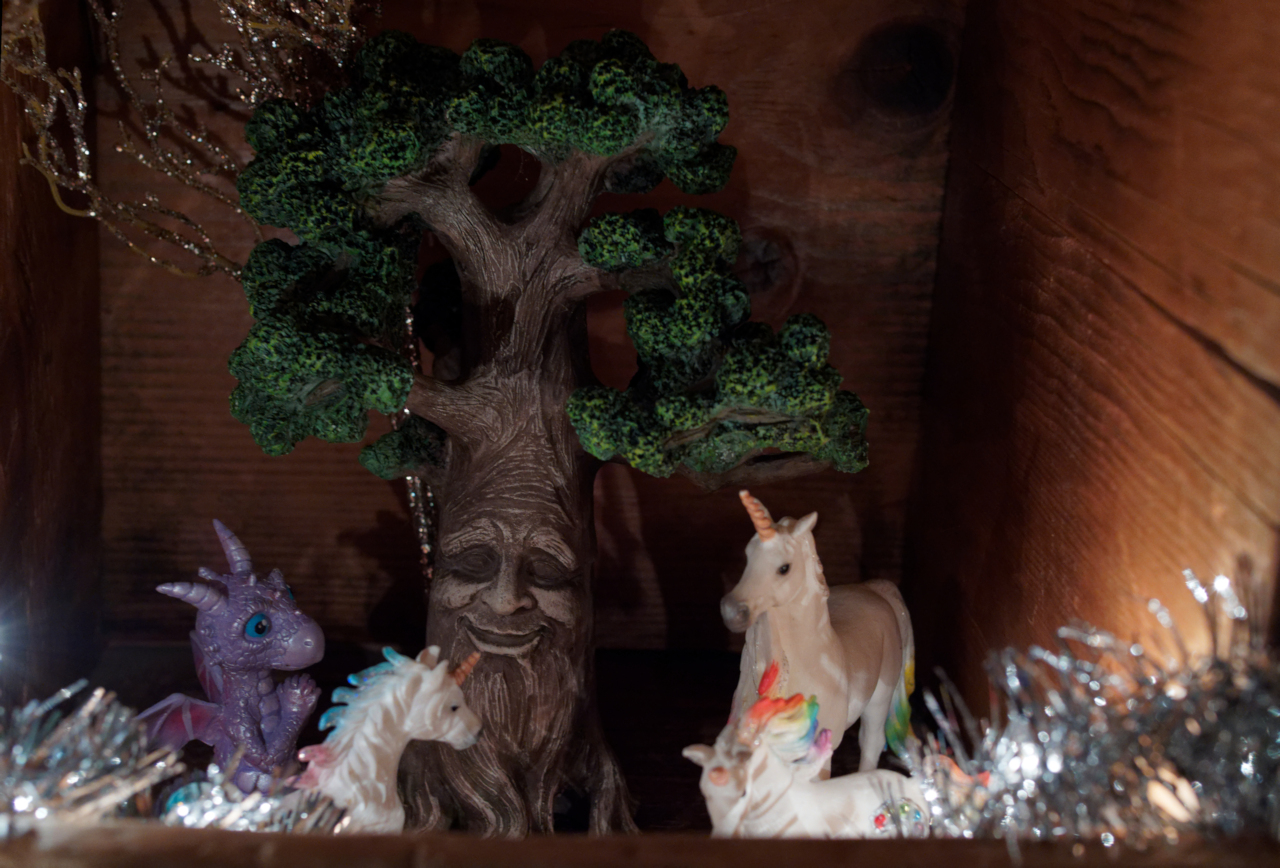
In case you haven't noticed, I like horse ornaments and teddy bears. These bears I made quite a few years ago. The pine cones were picked up out of the yard and painted and touched up with glitter glue.

On the chair is a carousel horse and an aluminum horse bit. I also save the unique gift labels that my daughter in law makes and add them to my collection.

Below are two of my horse ornaments I have collected from Westland Giftware.


And that is it! The Christmas Chair is up.
I'll be rearranging everything constantly. It just suits me to do so.