Showing posts with label glue. Show all posts

Saturday, July 05, 2025

Get up and go...


What do you do when it is 90+ F outside with humidity that chokes you? Well, first off, chores have to get done when the sun is coming up. 

Later in the day any sane person would retreat from the heat, there is mowing and yard work still to do with breaks in between.

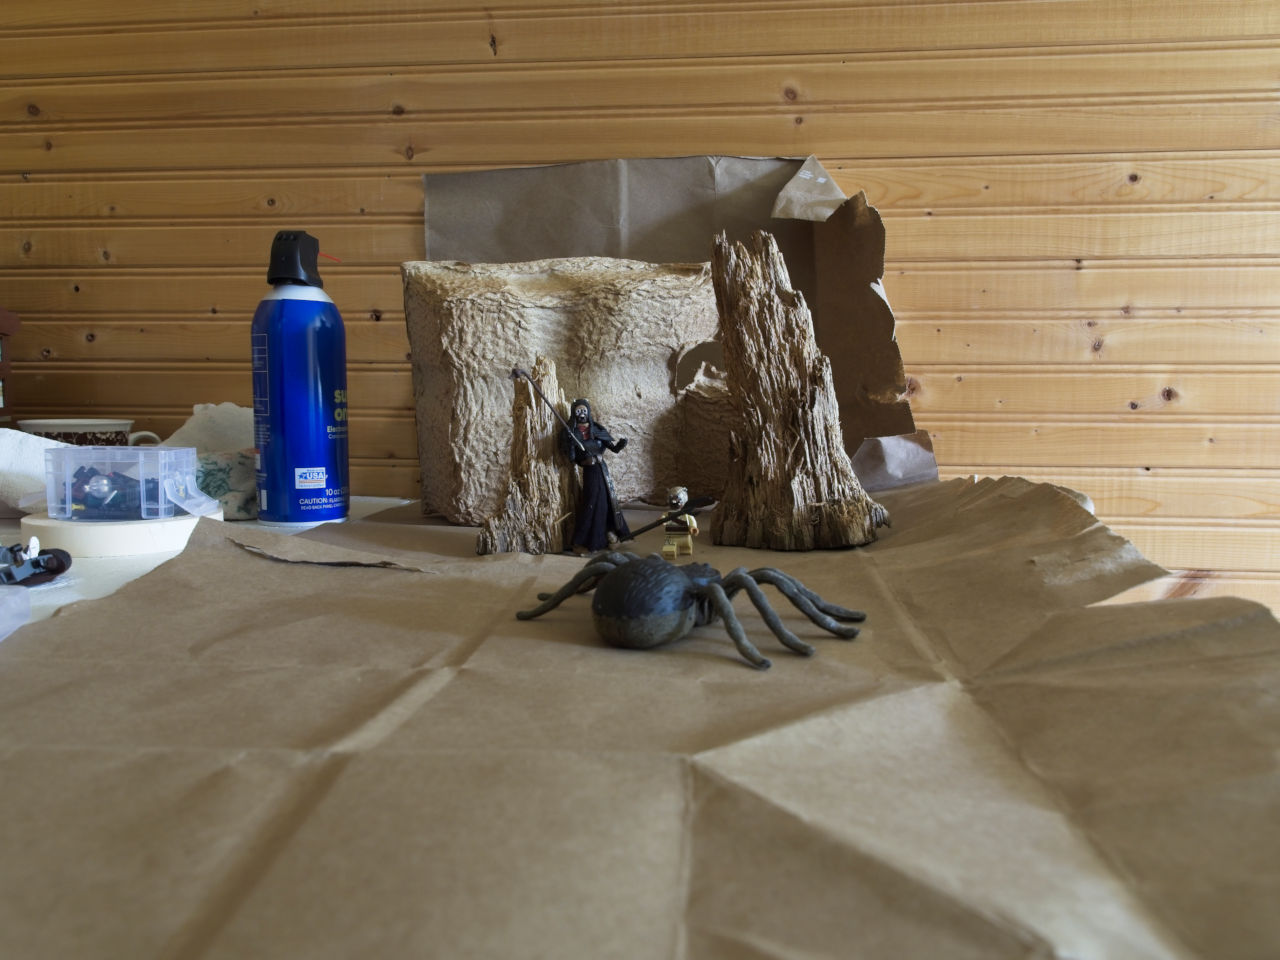
To enjoy some mindless quiet time, I get out the crafty stuff and start to imagine what I'd do with mushrooms, mosses, glue, paint, and soda bottle tops.


How about little 'flat' pretty marbles? I imagine them to be like Lily pads with little micro flowers on them. Perhaps a butterfly or two would be fun too.


So all these ideas came about when I was at the Farmer's Market a couple of weeks ago and saw a lady who took pieces of wood and had glued mosses to it. She had some tiny mushrooms she'd made and painted that she attached to the little logs.

I studied it and thought it would be cute to have this for my own. Until I saw her price tag. $68 for little 12 inch 'stick' that was about 3 inches in diameter with a few bits of moss and two tiny mushrooms.

She had different sizes and prices. But I couldn't spend even the $28 for one of them. I studied it. Then I decided to use her wonderful idea and make my own decorations. 

My own decorations turned into scenes for my Lego minifigs. 


The morning light was too good to pass up. So I took my camera out on the porch to let it acclimate to the heat and humidity while I grabbed my old cookie sheet and made a pond.

Arranging things on a cookie sheet to do a tiny scene was so engaging.
I put it on a plastic crate for easier photographing.


I tried both my Lensbaby SOL 22 lens and my 25mm prime lens. I ended up liking the softness of the Lensbaby best.


Shooting on the porch concrete proved a bit harder to get 'the look' I wanted. But this will give you an idea of why I moved it.


I find the little cookie sheets very helpful in 'setting' up a scene. It keeps me focused on a small area which is what shooting tiny figures is all about. The porch garden provides a perfect backdrop to the items on the tray.

I needed to make this shot look as if it was in a swamp. So I picked some weeds and quack grass out of the garden and dropped it into the water on the sheet.

Glenda meets Alli along with Alli's friends. 


Most Legos are not evil...Glenda and her new found friends decide to take a tour of the swamp.


I haven't quite worked out the best angles to really do a great job, but I am enjoying the process. I can also hear Rich when he rings the bell inside the house for assistance. 

I get a bit of down time along with a bit of play-->distraction time.

What will I do with all my bits and pieces? I don't know. When I am done using them for now, I'll keep some bits out to decorate my flower table with and I'll store the rest in a tote.

I will have one tote full of bits and pieces from junk I repurposed two summers ago for scenes about space or exploring other avenues. 

Example:
[the bits and pieces are script containers and bits of CPAP tubing]


Now I can add these bits and pieces for 'natural' settings without going out into the woods and finding them.

[I'd rather be in the woods, but that is too far away from watching over hubby.]

I can't wait for another decent morning to try out some more tricks on the porch with my cookie tray.

~~~~~~~~~~~~~~~~~~~~~~~~~~~~
As for the 4th? We didn't do anything but we had a wonderful visit with Ariel. We heard fireworks going off on Thursday night in the surrounding area. We enjoyed a simple cookout and a lot of visiting.

Ariel and I took evening walks together after supper while hubby watched Death in Paradise. 

The yard is mowed, the laundry is hanging out to dry until the rains come again. The next two days are going to be quiet too.

Astra says...
"If you were able to fall a hundred times as a child and rise, 
you were able to fall a thousand times as an adult and soar."
~~Matshona Dhliwayo


Monday, June 23, 2025

Hot Hot!


Things to do when it is unbearable outside. Bring some outside into the house. Since I was having fun with the candle holders, I thought I'd expand to sticks and bark. Using glue, moss, and some funky crafty items, I got busy.


and then of course I had to imagine what would take place on this piece of bark.


and I took it a step further. 
Since my 'photo table' had to be moved out, I haven't had a good place to do indoor dioramas are creations. However I muddled through and had to avoid the concentrator and avoid stepping on the 02 lines...
but I made it work.

I ended up putting the items on a box and using a cutting board that was made from an Italian Olive Tree for the backdrop.


I kept messing around and finding more interesting ways of using my decorated sticks and roots.


I went out after the sun went down and decided to watch Fireflies. On the forest edge, they were abundant in the tall grasses.

You may have to click on the photo to see
the driveway...4 minute Livecomp
exposure.


...and on to the week of somewhat cooler temps but a lot of predicted rain....

Friday, August 11, 2023

I'm a Winger!

I like making things up as I go along. I wing it when being creative. I don't plan, I do. Sometimes it is a fail, and sometimes it is a Win.

I decided to watch tutorials about 'making' terrain for sets and dioramas, most of the artists or creators drew up plans.
One fella who was using Junk he found around the house just 'winged' it.

That is my style. Take stuff and put it together to see what works and what doesn't work.

So, armed with old hair ties, a CPAP machine, tubing, garden mulch, cardboard, glue, spray paint, and paint...

I winged it....


I won't bore you with a ton of shots. I will offer 55 seconds of a series of photos with titles for what I did.

I discovered that I enjoyed working with cardboard more than the other materials. Cardboard is easy to cut into shapes that I want and when I am done with using it, I have no issue in recycling it.

Using the old CPAP machine was a great challenge. I cut apart the old and outdated hoses and enjoyed 'making' space junk out of them. Using mulch and chunks of wood as 'rocks' was fun also. I kept many of them loose so I could reuse them in different scenes. Of course I can toss the wood back into the flower beds too.

The process was a learning experience. 


I even used a screen grab of a wrecked spaceship to add a digital background to a shot.

The Lego Droid sort of gets lost in this shot, but photos that don't turn out perfect are how we learn.


Original:


This one almost feels too busy. A focus just on the little droids would have worked much better. But by trying this over and over, I will eventually come up with something decent.

I do like the detail of the background though, it looks rusty and very much like a space junkyard!

I did put a little balloon light inside the container that was bright blue.


My first photo of the morning was taken on the porch. It ended up being my favorite. It isn't just a shot of toys. He just looks so SAD!

Battle Weary Droid


This was the cardboard design I made. I think I like this little 'scene' best right now for a background.

I may make more of them with certain themes or ideas in mind.

I cannot image trying to 'make' this scene out of Legos. Besides, I like to mess around with paints and try new things all of the time.

I did watch videos on making terrain for wargaming sets. They were pretty interesting. I mostly was interested in those videos that used things that most people would have on hand.

Oh boy. I have a lot of boxes!!!


Tuesday, August 08, 2023

From Trash to Treasure?

So, last week we had horrid weather and I think I pulled lower back muscles or something else. It was painful to walk to bend to stand and well, if you've ever had that sort of pain, ... you will understand.

I spent some time reading library books, I spent some time staring out the window swearing that I'd never complain again about -10 degree weather, and of course spent time supervising the driveway rehab project.

Creatively, I felt stuck. Even with the beautiful foggy  mornings, I didn't feel too inspired. Nothing really got me going. That is until I was bored and decided to watch YouTube videos on how to build dioramas on the cheap using common items.

A guy built a little HO Train Scale tree out of a stick and wire. I was fascinated. Another person made realistic rocks out of foam board and another one that made rock backgrounds out of chunks of wood and mulch. 

I knew I didn't have the patience for the tree or the materials. But making rocks out of chunks of wood was intriguing. We had wood chunks all over the place. I live surrounded by a forest.

Lo and Behold, I found a chunk of foam in an old junk pile while I searched for wood chunks.


Wood chunks from the pine stump in the yard that I'd been pulling apart.


I thought at first I'd try using a box and a paper bag on the kitchen table. Could I 'make' a scene?


Then an idea popped into my head. I took a large paper bag and opened it up. I tried this ----> but it was sort of a fail.


Which ended up being this and this---->


It was just sort of Ok. Like Meh Ok. 

I needed to step away and do something else first. 

I got out the knife, paints, and Modge Podge. 
Let's make some rocks.
I broke the foam into chunks and then used a knife to make it look rough. The dude in the video said to save the pieces of foam for another project. So I stuck them in an old to go container.


I mixed the Modge Podge and the paint and started the messy journey in a nice cool house, while the world baked outside.


Wireless headphones and music helped drown out the sound of the TV blaring in the next room.


After laying it on thin and then thicker, I had to set it all aside to dry -- a long time!

So I rearranged the paper bag on my 'creative' table and grabbed some chunks of wood. I set a piece of packaging material from my trash and added it for texture. It was the right color and might be useful.

I added some figures randomly. 

I finally settled on an old Halloween prop [spider], a Tusken Warrior Lego figure and a small Tusken Warrior figure from my collection.

It really doesn't look like much at all.


But.
Using a narrow depth of focus I wanted the scene just to give an indication of the spider and I wanted the figures to be in sharp focus while the items behind just added texture.

The figures kept falling over because the paper wasn't taped down. I used an Elmer's Glue Stick on their feet.


And the final result was:

Whoo Hoo! 

Meanwhile, the 'rocks' had dried enough so I could add more shades of color.


I wanted dark-ish rocks, but with some eye catching highlights. I added a grey wash to the high points and had to set them to the side again to let them dry.

Finished rocks:


But now I was in the mood to hunt for treasures and see what I could come up with in junk piles. 
These items were part of an old CPAP hose. I wanted to make something like a space junk pile.


Sometimes I wonder about myself. I get in a slump and then all of a sudden I get in a crazy mood to 'make' things and experiment. 

The first attempts with some of the items were fun. It needs more 'work', but here is two just for fun shots.

Mr. Eggstreme must have come to the wrong Lego Scene here! 


My first attempt at my Space Junk. 
I have to figure out what to do with the light better. 


But I think it turned out okay for a first attempt. I may add the rocks and some more light to make something more notable. But for now? This is it.


Let's face it. I had a great time and had my creativity and imagination challenged. It sure makes the days go by and gives me something to enjoy.


I'll be taking some more items and creating texture on some old pieces of pipe using glue and would you believe it...??? Baking soda.
What happens when I am done with all this stuff? Why, I can toss it back into the junk pile outside the shed or send it to recycling. In the mean time, I can have fun with stuff no one else would think of as useful.

One person's junk is another person's treasure?

:)


Saturday, February 15, 2020

How to build a stick house for a Fairy Garden

The weather turned down right dangerous with air temps at -18F and who knows what the wind chills were. I bundled up, did the chores and made sure all the equine had plenty of hay and heated water.
Since I had to be outside for a length of time, I dressed for it.
I actually was comfortable doing the chores and hauling hay in the large sled.
Going for a hike was out of the question, if I slipped or started to get cold, I'd be too far from help.


I decided that I'd collect some of the sticks I'd gathered while hiking with Charlie and Sven the other day [when it was mild] and 'create' a new Squirrel House.

I decided to use my cell phone and then write on the photos as I went through each step so here it is:


This is an old sour cream container that I cut a window in. Since it is a squirrel 'house' he/she can climb in and out easily right?
I painted the container black first so that if there were gaps, the sour cream lettering wouldn't show through.

The gorilla two sided tape is weather proof and will hold up to 15 lbs or so the package says. It is so much easier to use the tape and then put the sticks on than trying to glue them in place.

I was fascinated that I could break chunks of bark with lichen on it and press it onto the tape in the gaps ... seems it will stay? Time will tell.


I used hot glue and more scraps to fill in some of the other gaps that didn't have tape on it.


I was going to make a fancy top with some clay or something else but I decided just to go into my scraps area and grab some old bark I'd found laying in the woods. I used Gorilla Tape to hold down a layer of scraps. Hot glue works best on a porous surface so I glued more scraps on top of that to make a roof.


There. But I still had some a few more touches to add.


I think the Squirrel likes the little shack.

I rather like these little projects. This will be fun to put in a section of the new mini flower garden I'll do this spring. I may have to think of something to make the stick house heavier so it will stay put.

The stick houses are a lot of fun to make and cost nothing as I can gather the materials needed when I take a walk.
This was a great little day project to do while the temperatures outside kept me safely indoors.

One of the reasons I liked this project is that it did not have to be perfect. Too many 'Fairy Houses' look perfect. If a person was to do this with a child, it could be just like this.
I think it is still cute in its very non perfect way.

Besides, if a squirrel were to make this?
Well, have you ever seen a squirrel nest?

I rest my case!