Showing posts with label photographing skulls. Show all posts

Saturday, February 25, 2023

Indoor Stuff/Creativity/Play

Generally around this time of year, I get stuck inside not because of bad weather, but because I am tired of the scenery outdoors.

I get weary of the same black/brown/white scenery that is being offered up outside and in the woods.

So I get out my craft stuff and start making a mess. I am all over the place. I can be painting a skull or thinking about photographing Still Life. The table can be littered with various paints, my 'craft' table has projects and 'stuff' all over it.

However, I am getting better and not leaving a mess in the house all of the time. I don't like clutter, so by the end of the day, I generally tidy up and put things away. The house is too tiny to clutter up all the surfaces.


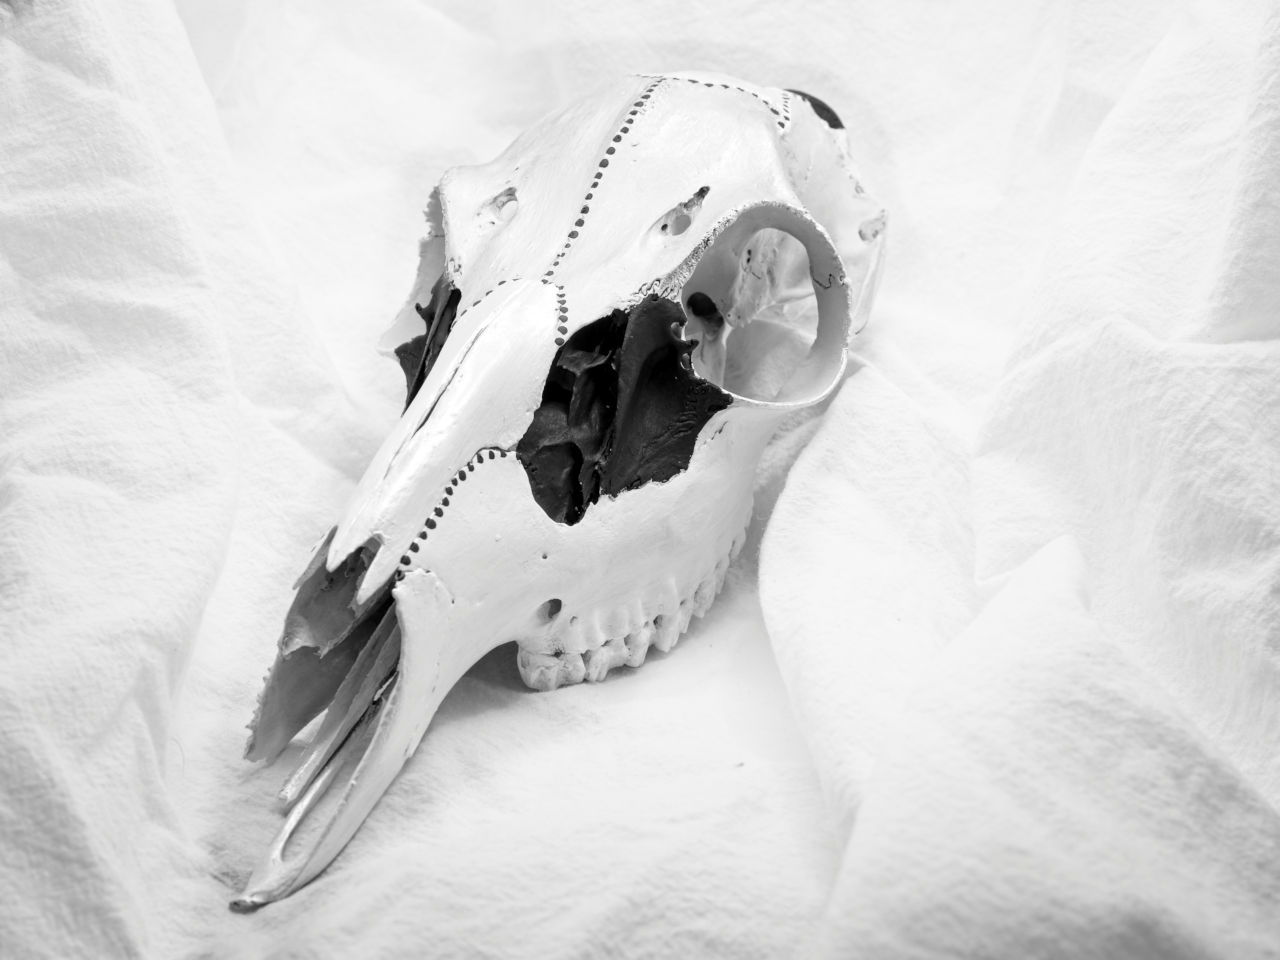
I started messing around with the white skull. It looked nice in all white, but I wanted to add shades of silver and grey. The pearl white showed up very nice and the black looked out of place. 


Hubby liked the black on the skull and asked for more of it. In the photo below, the various shades of grey and white do show up. I turned the light box on its side and used a white tea towel. I kept moving things around...


I ended up using masking tape to attach the tea towel to the sides of the box.

--- of course, Farmer Bob was very helpful in taking care of things....


The towel experiment didn't work out so well so I went back to the basic white plastic back drop.


Hmmm. This sort of sucked too. However, there is always a possibility of a little editing to help out. I used ON1 and made the shot into more of a High Key shot which eliminated the box edges.


The result was satisfactory, so I went on to experiment with a tiny pitcher I'd picked up ages ago at an indoor flea market. 

the set up...


the shot...


the edit...


I actually liked the slight textures from the towel in this shot. It felt right. Of course, I should have had something else in the shot, but I was just experimenting with light and exposure.

I experimented with different lights and different ways to diffuse or soften the light. I wanted to use things that I had on hand. Below is a flashlight with an amber pill bottle as a diffuser, a plastic cap on another light, and even bubble wrap!


Rich walked by and just shook his head. 

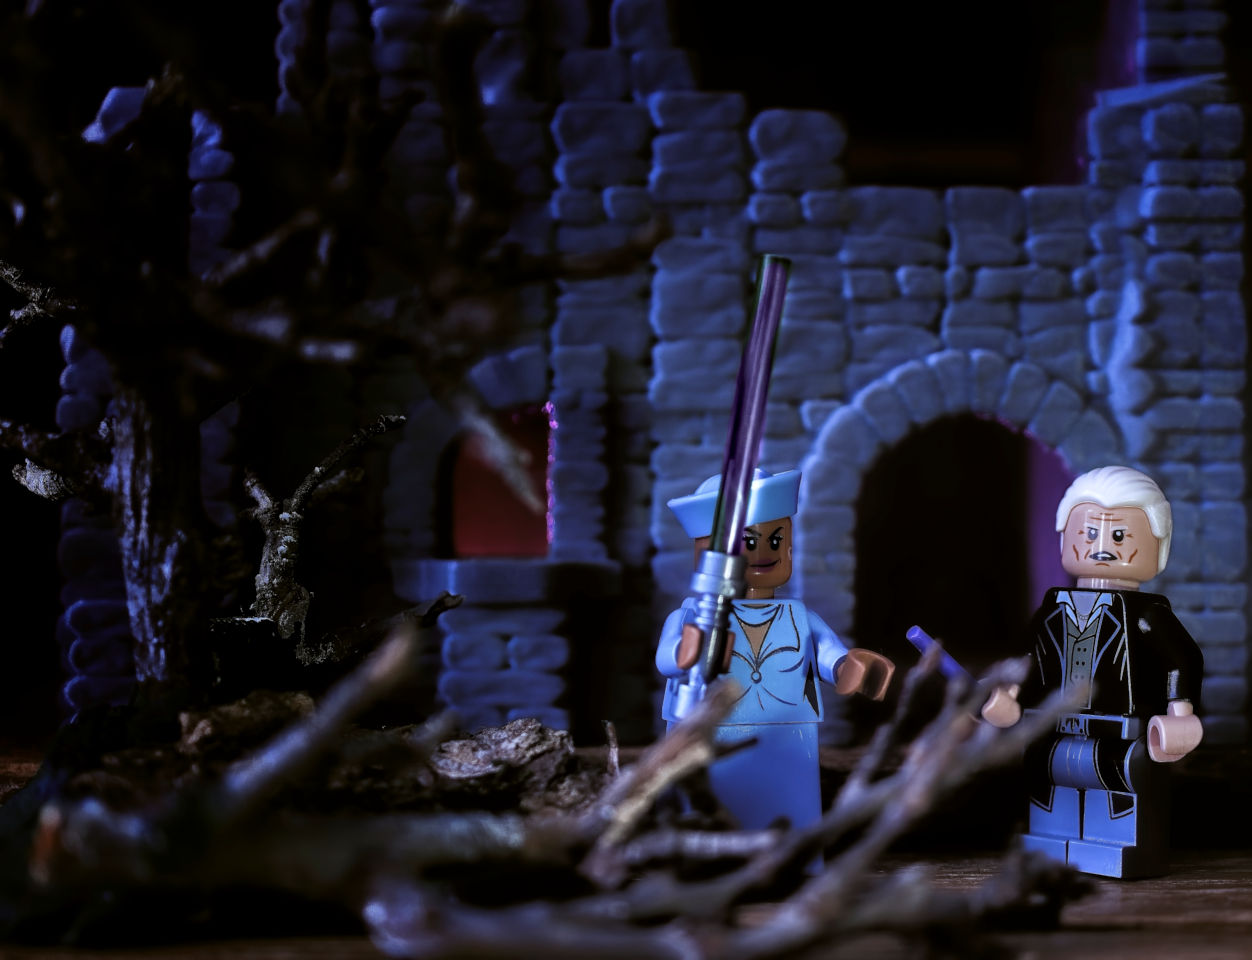
However, before it got too bright out, I decided to see what the purple light and bubble wrap over the flashlight would do.

Purple light in back, flashlight in my hand from
the right.

What it looked like with the curtains opened and taken with my very crappy cell phone:


And now I have to deal with this...
somebody wants to get out and explore....


You can't use up creativity
the more you have
the more you use...
Maya Angelou


Thursday, February 02, 2017

Still Life while the winds blow!


If you think I have a fancy studio for some of my still life work. Think again.

I do have a room now that I can gather my stuff together and leave it while I get distracted for something like, um, let's say, doing chores, making supper, or going hiking.

My go to backdrops are made out of simple cardboard, an old tablecloth, an old rug, and sometimes some velvet scraps I've had in my sewing stuff.

I have a bowl of beads and old fake pearl necklaces and other items that I toss into the mix. I bought a mix of flowers at Walmart that was a bit past its prime. The rose petals began to fall from the flower and I thought the petals were a perfect addition to what I was working on.

I have done most of my 'work' using the existing light from the bedroom window. On cloudy days the light is very subdued and on sunny days it is harsh in the afternoon.
I used a fold up chair and some black velvet for one shot. I leaned some black cardboard up so the pale wall wouldn't show when shooting the rose petals.
After I was done I realized I didn't have the perfect focus so this one really didn't make the 'cut'.

But the concept was nice. I did use some heavy handed editing to remove the dust and grey portions of velvet that showed up in the photo. I used the Perfect Brush in ON1RAW to help with that. What a handy and quick tool it is.

Before brushing...
Next time I try this I would like to have everything in much better focus.

I did end up with a very nice shot however after trying a few other things.
And....
Edited version below with texture from an abandoned building.


Arranging Still Life is still a mystery to me sometimes and I often don't spend a lot of time making an arrangement. It seems to work better if I don't think about it too hard.

So while the wicked winds blew outside, I was in the spare room playing with items.

My husband says I have too much time on my hands. He may be right this week as I was off for his surgery that got cancelled. However I did sell a piece of artwork so I guess it wasn't a complete waste of time.

And then there is my small skull collection...
Opossum in the middle and ground hogs on the outside.


Friday, January 30, 2015

"Them Bones..."

All my life I've been fascinated by bones.  Oh not a sick weird, strange, fascination, but a curious fascination.

I live in a very wooded area and nature has its cycle.  A deer is killed by coyotes and a skull and some scattered bones are left to find.

I sometimes pick up the skull and bring it home.  Finding sheds is a huge 'sport' of sorts around here too.  Many folks I know hunt antler 'sheds' and sell the antlers.
I collect them.

I wasn't sure for a long time what I was going to do with my pile of magnificent sheds and skulls.  I just piled them next to the out house and took the nicer looking ones and put them on the side of the building.

Then I started to think of things I could 'do' with the skulls.  I started with small raccoon skulls I'd found over the years.  They were in pretty good shape and not too difficult to handle.  Easy to wash and since they were old, all I had to clean up was mostly collected old leaves and dirt in them.

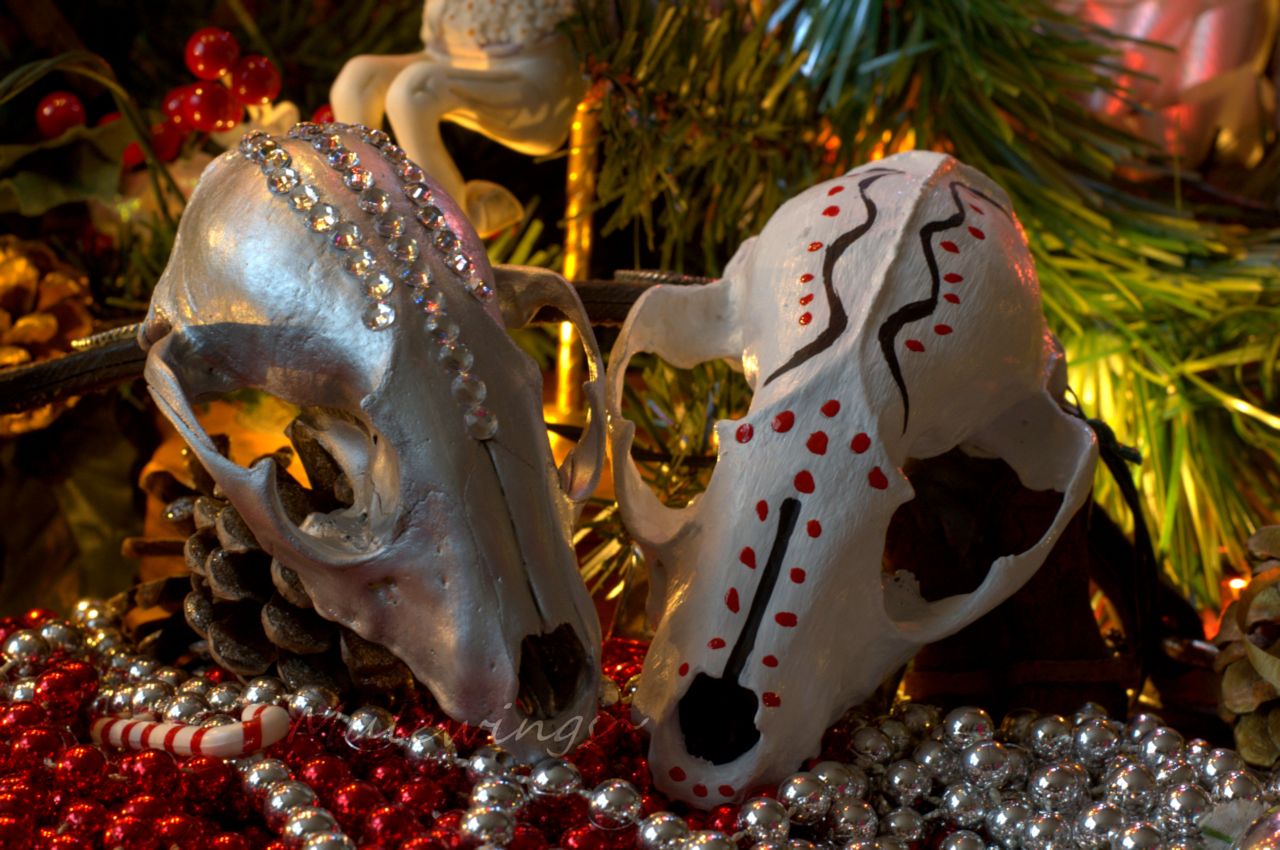
The first one's I did were around Christmas time.  As experiments, I thought they came out pretty cool.


In fact I showed one to my mom who is nearly 81 and she loved it.  I asked her if she wanted it and she immediately put it on a shelf for display.

I painted a black one with gold highlights for my youngest son and put gold 'gems' on it.  He thought it was awesome.

I moved on to one of my rather decrepit deer skulls that I'd found laying in the woods.  The mice had been at it quite heavily and at the time I thought it wasn't worth bringing home.

But now?


Well I think it turned out pretty neat for such a beat up thing.

Then I took a rather nice one that I had and painted the skull white after sealing the cracks with glue and gluing the teeth back in that were loose.

I didn't have the heart to do anything else but preserve this skull as it must have belonged to a magnificent young buck.


After dealing with white as a base for the skulls, I wondered what it would be like to have one look primitive or more natural...or even antique.

So I stained and old doe skull rubbing the stain in and wiping it off until I got the effect I desired.


This is probably in some ways my favorite after I painted the 'line' drawing of a deer on it.

I did some reading up on what to do with weathered antlers and came up with my own idea.


This was a broken up antler with the ends broken off.  It was scarred and chewed. So I used the same method as before to add a bit of wood like stain to it.  I liked it because it brings out the weathering and the cracks in the antler.

I didn't want to fill the cracks with wood putty and try and reconstruct the antler, I wanted it as I found it.  Cracked and imperfect as mother nature made it.

I intend on finishing a couple of more of these wayward antlers and mounting them on a board with the tines up.  They will adorn the space above the new windows and hold white lights [you know, the Christmas kind].  Or they will become hangers, or curtain holders.

I may even take my group of antlers and construct a lamp base out of it.  

And then there is my prize possession.  A complete coyote skull.  I just preserved it in its natural bone color.


I have another very old skull that is full of lichen and moss.  The skull is badly damaged and the old oddly shaped antlers have been chewed on.  But it looks like it will be a nice challenge.

And it is shed hunting season again.  The bucks start to drop their antlers about now and it just gives me another reason to walk trails and look for more odd things.

Who knows?
Maybe I'll find some cool bones.


Saturday, January 10, 2015

Variations on one Photo, Coyote Skull

I'm a fan of bones.  I like finding skulls.  I'm also what is called a 'rock hound' ~ hunting cool rocks and bones is a great past time.

Last year I got a coyote skull that still was quite nasty as far as in the form of decay.
Other coyotes don't eat there own.

I placed the skull tied up with twine in a brush pile, hoping to let the summer bugs do most of the work.

I took the skull and placed it is soapy warm water and let it sit out in the sun for a few days.

Anything that was left on the skull I was able to remove easily.
Now I had the lower jaw in pieces and a bunch of loose teeth.  

I used some clear Elmers Glue to seal the bone.  Since the skull was not 'bug' cleaned it was a bit yellowed, but to me that looks more natural.
I glued the teeth back in place and after taking care of sealing the rest of the skull.

I then I used clear nail polish to 'shine' up the teeth.

Here is a photo of the complete skull after cleaning.

Photographed on a piece of black velvet on a folding chair.


The skull in this state is quite beautiful.  Since I haven't figured out how to attach the lower jaw properly, I have it just resting in place.

Next I adjusted the skull I wanted a black and white image with no yellowing of the skull.


I like this image on its own merits.  It is more like a museum display shot.

So I thought I'd try to do something different.

Wow.  I used Topaz Adjust and a preset I've never bothered with before. Polarize.
I didn't expect this as a result at all.

So I decided to go one step further and use Topaz Glow.
I didn't like the color streaks that it produced so I desaturated it.


Lastly I overlapped it with some grunge brushes and a photo of cracked mud.

I like all the versions but this last unexpected result is something I really like.