Showing posts with label Playing with lights. Show all posts

Saturday, February 25, 2023

Indoor Stuff/Creativity/Play

Generally around this time of year, I get stuck inside not because of bad weather, but because I am tired of the scenery outdoors.

I get weary of the same black/brown/white scenery that is being offered up outside and in the woods.

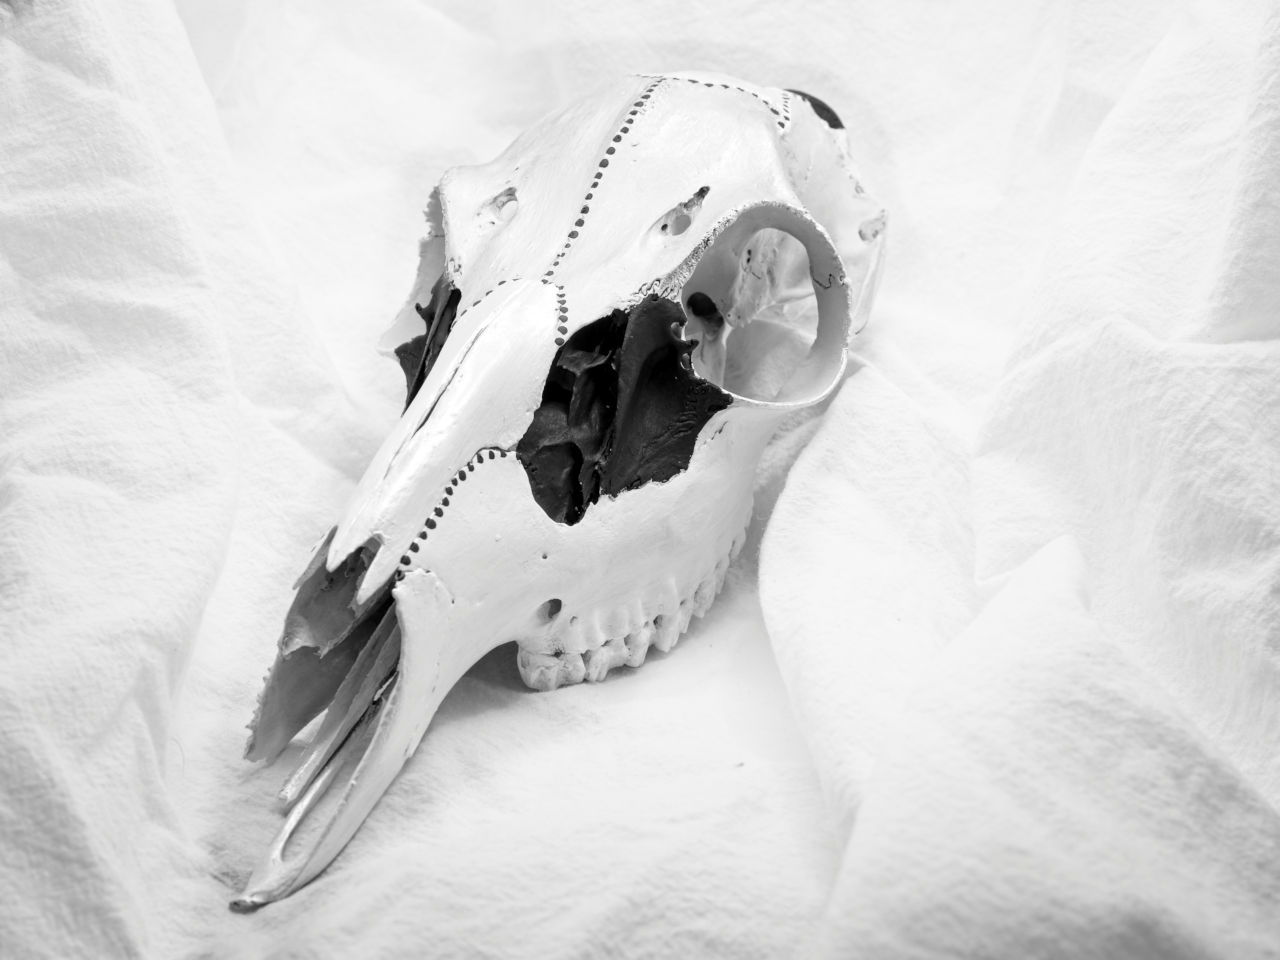
So I get out my craft stuff and start making a mess. I am all over the place. I can be painting a skull or thinking about photographing Still Life. The table can be littered with various paints, my 'craft' table has projects and 'stuff' all over it.

However, I am getting better and not leaving a mess in the house all of the time. I don't like clutter, so by the end of the day, I generally tidy up and put things away. The house is too tiny to clutter up all the surfaces.


I started messing around with the white skull. It looked nice in all white, but I wanted to add shades of silver and grey. The pearl white showed up very nice and the black looked out of place. 


Hubby liked the black on the skull and asked for more of it. In the photo below, the various shades of grey and white do show up. I turned the light box on its side and used a white tea towel. I kept moving things around...


I ended up using masking tape to attach the tea towel to the sides of the box.

--- of course, Farmer Bob was very helpful in taking care of things....


The towel experiment didn't work out so well so I went back to the basic white plastic back drop.


Hmmm. This sort of sucked too. However, there is always a possibility of a little editing to help out. I used ON1 and made the shot into more of a High Key shot which eliminated the box edges.


The result was satisfactory, so I went on to experiment with a tiny pitcher I'd picked up ages ago at an indoor flea market. 

the set up...


the shot...


the edit...


I actually liked the slight textures from the towel in this shot. It felt right. Of course, I should have had something else in the shot, but I was just experimenting with light and exposure.

I experimented with different lights and different ways to diffuse or soften the light. I wanted to use things that I had on hand. Below is a flashlight with an amber pill bottle as a diffuser, a plastic cap on another light, and even bubble wrap!


Rich walked by and just shook his head. 

However, before it got too bright out, I decided to see what the purple light and bubble wrap over the flashlight would do.

Purple light in back, flashlight in my hand from
the right.
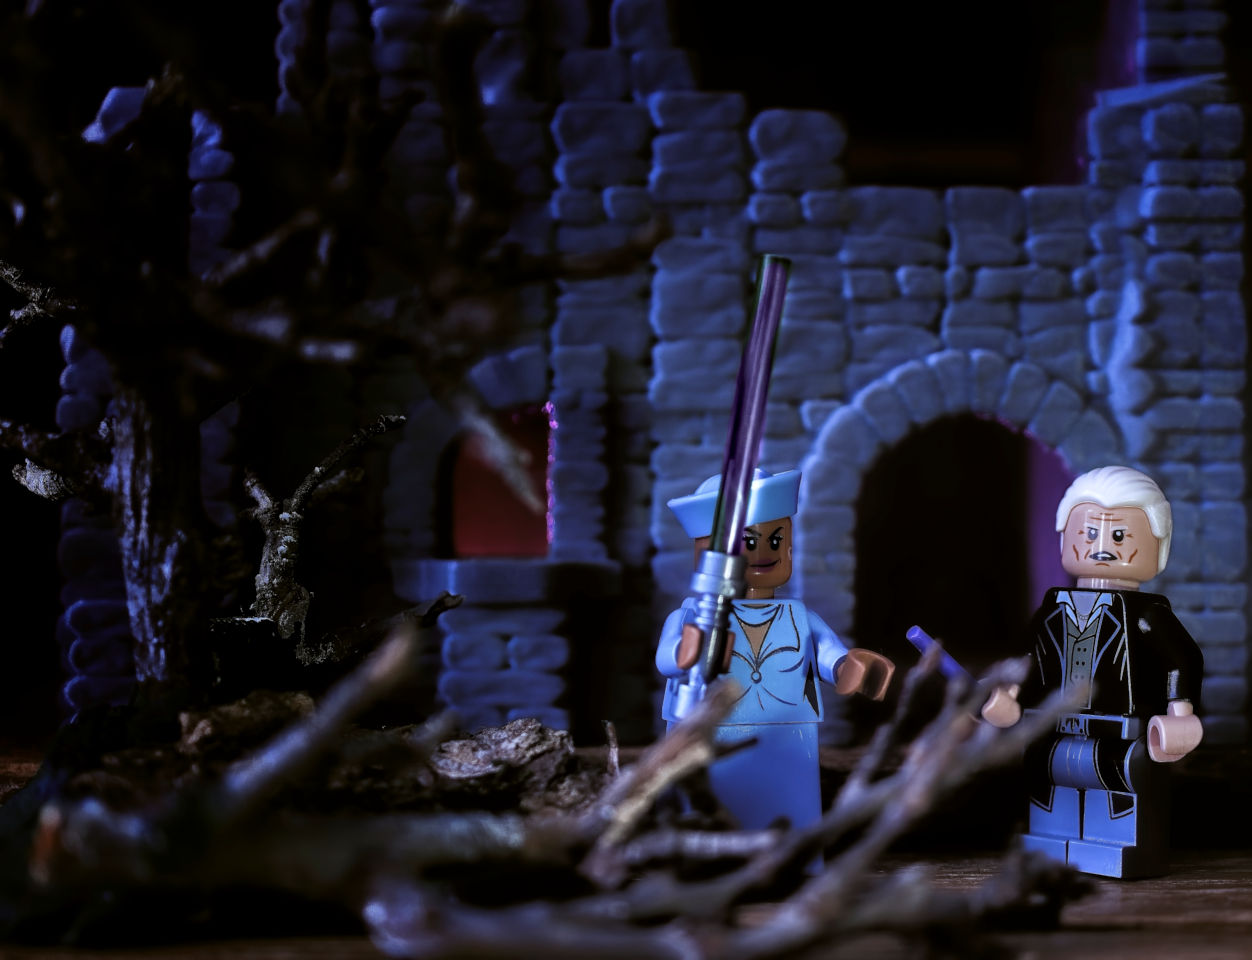

What it looked like with the curtains opened and taken with my very crappy cell phone:


And now I have to deal with this...
somebody wants to get out and explore....


You can't use up creativity
the more you have
the more you use...
Maya Angelou


Tuesday, February 02, 2021

Don't play with your food

I think every child has heard that from their mom. However. While making cookies I thought this would be fun.
I made a diorama out of an old wooden box and used ambient light from the kitchen window as my light source.


I did some more reading and read about a do it yourself softbox for lighting. Controlling the lighting is pretty fun. I'd tried that a week or so ago with the Dinosaurs, Dragons, and a lamp.

Two years ago I'd created a similar light box and photographed an apple. That experiment was just to do a product type of photo.
It sort of worked, but I still had a shadow on the lower part of the photo. 


I had a big cardboard box sitting next to the back door and I needed to do something with it. I remembered the softbox I'd made and thought I'd try another one. I got out the box knife and made a new lightbox. I cut out two sides and the top. 

Getting a light to shine down was difficult since I only had two lamps.
But it might work for diffused light from above the object I would be photographing.


I added scrapbook paper as a backround and then scrounged around for some items that might look neat.


I used rocks and 1931 Singer sewing parts. I found the tiny needles folded up cardboard labeled London 1851. I used a tiny Halo figurine.


The scrapbook paper provided a 'grunge' looking backdrop.

I looked around for something like a circuit board for a backdrop for the tiny soldiers.
The best I could come up with was more discarded Singer parts. These parts came from my Aunt's sewing machine she purchased in 1931.


I had a bit of fun with it too. 
Beam me UP!


And then I switched things up a bit.
This would have worked better if you couldn't see where I joined two white pieces of paper together. Uffdah! 
My little Not - Fairy Garden Dragons. 


Cute Dragon and Forest Dragon.
I really like Dragons!
This I lit up from the top by putting the camera on a timer and then grabbing the lamp and shining it down from the top of the box without knocking stuff over.


And for a bit of silliness.
I have no idea why I selected this, maybe because it amused me. I think cute hearts would have been funnier as a backdrop.

Giddyup!


Then this afternoon after a friend saw the dinosaur eating the cookie ... she texted me that it was so UNFAIR that her Zoo Crew she'd sent me didn't get any goodies!

I had made a cake [and believe me...that is a big effort!]. So after Rich had a piece, I ...
well
I...

played with the food...

The Zoo Crew !


Thursday, November 03, 2016

Light Play

I couldn't resist taking some time in the afternoon day to set up my Creative Room of Wonders stuff and try some things out.

Morris had to help of course.
I thought I'd take a shot of what I was doing and the simple things that I set up in the spare bedroom to play with the camera and some lights.

So at first I used the method of trying to get a nearly black backround with just the settings in the camera.
It wasn't hard.

I referenced this article by Glyn Dewis: The Invisible Black Blackdrop Photography Technique.

I didn't totally want the backdrop to be black because I don't have the flash equipment. I thought I'd experiment with his idea and see what I could do.


I moved the exposure so that the photo was nearly black. Then I put my camera on a 2 second delay and used an LED flash light to try and light up the flowers from different angles.


There is my hand right there holding up the flash light.

I took several shots and then put them through my old CS2 photomerge.
This is an archiac way of doing things similar to photo stacking and using 'light painting' at the same time. I was able to mask out my hand and then crop the photo.


I ended up with the following.

Well that was nothing to actually write home about. But, I did get an interesting combined shot. It was worth exploring some more.

I did the same thing with some toys.


This was actually quite fun. The hard part is getting a strong enough flashlight and lighting up the right areas. The above shot is probably 4 or 5 shots combined.

Then I thought, why not use a lamp?
Well I did have fun and I was able to edit out the lamp with masking tools.
However I didn't really think I ended up with anything brilliant here either.

So I took this photo into ON1 10.5 for some fun.
Much better...
I then went back to the other flower photo and decided if I could do anything more impressive.
Not sure if this fits that bill or not.
I would need to totally redo this shot as I missed lighting up the top flower and I think no amount of fiddling or editing will fix that.
But I did learn something important about light painting. Don't move the camera until you have reviewed all of the shots.


However, I did go into back to just concentrating on a nice shot of the blue and white cup.
But of course I came up with 3 versions.


When I get some free time, it looks like it is back to the drawing board for me!