
Topaz has just come out with Topaz B&W Effects Plug in . Below is a quick edit using the Presets in the Traditional Collection.
There are many fine tuning sliders that will assist you along with presets under each of the Effects.
On the right hand side of the working window, there are even more ways to adjust your image:
Conversion
Creative Effects
Local Adjustments
&
Finishing Touches
I did this B&W using just the basics.
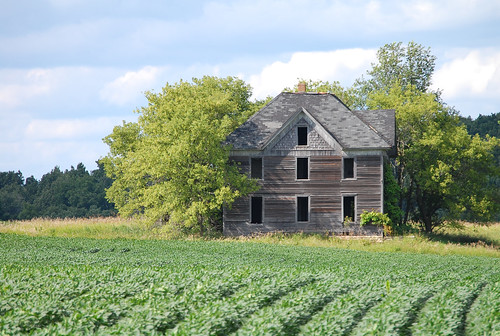
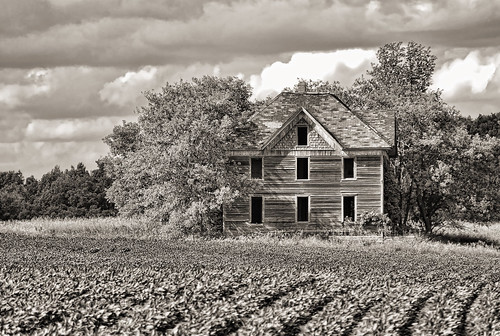 Original Photo:
Thank you Topaz for coming out with this new plug in!
Topaz BW Effects is fun, is awesome.
Topaz Sepia
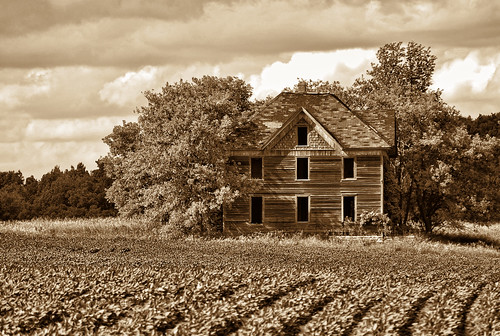
I used a bit of the 'burn' brush across the top of the clouds. This is found in the left panel under Local Adjustments.
I really liked the Sepia look so I decided to get a bit more creative with it. I went back into the BW Effects and retraced my efforts in creating the above Sepia picture.
Snapshot of the BW Effects working space:
 It is hard to see here, but I'd chosen Toned Collection here and dropped to presets and used *Sepia I*.
Next I went to the Adjustment panel on the right.
Under Conversion, I changed the Adaptive Exposure.
Then I dropped to Creative Effects and chose Diffusion. I moved the sliders about until I got the effect ~~ a pseudo Orton Effect on the image...then hit the OK button.
This is the result with Diffusion:
Topaz B&W Effects however adds many presets and effects than can really change the appearance of the photo.
You can go wild, or you can go strictly photographic.
This one was done using the Stylized Collection, Preset of Graphic Dreams.
 It truly is a fun plug in to explore and the introductory price isn't too shabby either.
It only took me about 5 minutes of playing with this to decide that I needed to add it to my collection of Topaz Plug ins.
No comments:
Post a Comment
Please include at least your first name if you are commenting Anonymously. Thank you.