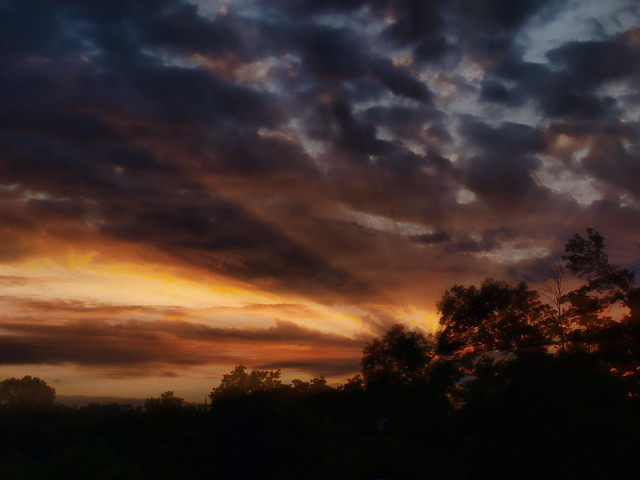
First let me start off with the original photo as taken:
As you can see the original has a ray of light in it...but I wanted more.
| Camera | Olympus E-420 |
|---|---|
| Exposure | 0.008 sec (1/125) |
| Aperture | f/6.3 |
| Focal Length | 42 mm |
| ISO Speed | 100 |
| Exposure Bias | -0.7 EV |

Then edit slightly in Photoshop 7.0 to bring out some color and jazz it up a bit:

Next use 'Control J' to make a copy of this layer.
Go to Image--->Adjust--->Levels---->and drag the slider to the right.
Take the Levels layer and go to--->Filters--->Blur--->Radial Blur--->
Amount: 100
Blur Method: Zoom
Quality: Best
Hit 'Control F', it will process. Get the 'blur' you want, you can 'Control F' more than once for a smoother 'blur'.
 This is what I choose:
 Arrange this layer in the middle and take the opacity of the top layer down a bit to your taste.
You can go wild with it, or be subtle.
I chose to be subtle about 46%.
 The final edited shot is almost believable.
Made for Press the Shutter.
I love reading these! Very helpful and I never would have thought to have done that. Gives me ideas for when I go back to VoTech..
ReplyDelete