At first I thought it would be a piece of cake.
Sure, take the photo and then drop it into any processing program and viola......ART!
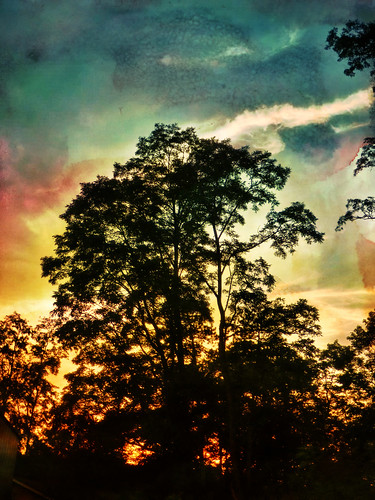
Here is the original:
That was pretty boring right?
So I dropped it into Elements 5 by Adobe and decided to run it through Topaz Adjust 5.
Dang.
Still not very exciting.
Then I though perhaps if I added some 'far' out textures and colors it I may come up with something interesting.
I added a painted texture and another 'painted' texture. I used overlay for the layer blending and adjusted how much would show through.
Now I wasn't sure I really 'loved' it, but this photo was beginning to grow on me.
This photo taken with a point and shoot Pentax Optio...don't ever underestimate a pocket camera or what you can do with it.
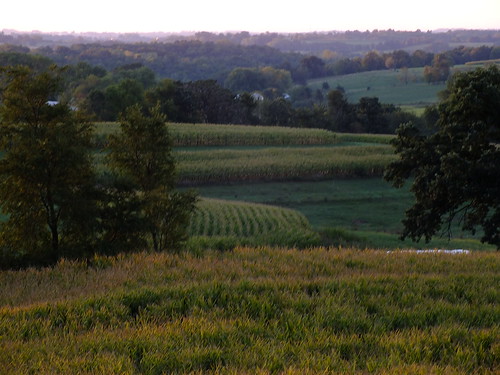
Next thing I did was grab a so-so photo and run it through Corel Essentials 4, free when you buy a Wacom Tablet [which I did a year ago]. I painted it in 2 different layers and then blended them together.
Here is the original:
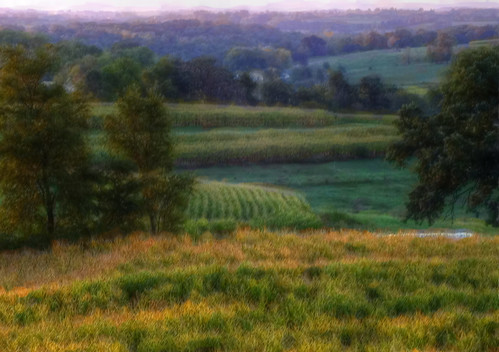
Here is the painted version:
I ended up liking the painted version enough to put it in my 'calendar' shots for this coming year.
This shot was taken with my FujiFilm Finepix HS 30 EXR.
My conclusion, do NOT underestimate what you can create with a non-DSLR camera!