 I promised another ReMask 3 review, well sort of. This subject dealt with editing the faces of two subjects.
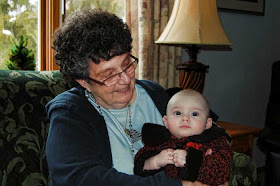
Here is the original shot.
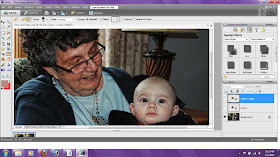 I wanted to tone up the skin for the woman on the left and give her skin a less dark and sharp color that was the result of a flash.
I wanted to warm up the washed out color of the baby on the right.
Step one.
I opened up ReMask 3 and 'cut out the faces'. This is what it looks like when I 'cut' out the faces.
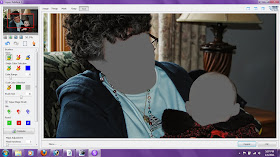 Here is what it looks like when I click on the 'keep' part.
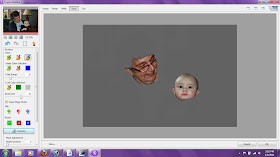 Now that I had my faces separated from the original I could get to work on the skin tones.
Step Two:
I used two layers, one for the baby and one for the older woman. I used Topaz Detail 2 and used the preset 'Skin Soothing and Brightening by JD'. Then I used the plug in from Artizen 'Dreamy Effect' and softened the focus just a touch.
Step Three:
Back in PS5, I lightened the levels a bit.
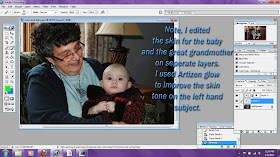
Steps 4 and 5:
Lastly I used ReMask 3 again and edited the figures out of the back-round and use Topaz Simplify to give the back-round a slightly less important look so the view would concentrate on the baby and the woman.
So if you think ReMask is just for difficult subjects, mind you it works very well in the everyday editing.
The result. A much nicer skin tone on both subjects, I think. Yes it is just a snapshot, but Great Grandma is sure going to like this version than that of the original!

Thanks for the review. As always it is informational and objective.
ReplyDeleteYou are welcome. I try to be objective and not biased at all.
ReplyDelete